

How to Save All Photos from Facebook on iPhone, iPad, Mac, Windows PC

Do you want to download all the photos you’ve shared on Facebook over the past several years?
Fortunately, it’s a lot easier than you think, and you can do it right from your iPhone, iPad, Mac,
or Windows PC.
In the wake of the Cambridge Analytica data breach that occurred in early 2018, the company changed
its privacy practices, now allowing users to download all the data you’ve shared with Facebook.
These include your photos, videos, messages, posts, and a lot more. This makes it easy to download
all your photos and videos in one go, regardless of whether you’re accessing Facebook on a computer
or a mobile device like the iPhone or iPad.
If you’re wondering how you can access this functionality, you’ve certainly come to the right place.
In this article, we’ll be discussing exactly how you can download and save all photos from Facebook
on iPhone, iPad, Mac, or Windows PC.
How to Save All Photos from Facebook
In order to be able to download all the photos that you’ve shared on Facebook, you’ll need to head over to
your account settings and request a copy of your information. Simply follow the steps below to get started.
1. Open the “Facebook” app on your iPhone or iPad. If you’re on a computer, you can just head over
to facebook.com and log in with your account.

2. Once you’re in the app, tap on the “triple-line” icon located at the bottom-right corner of the screen.
Scroll down and expand “Settings & Privacy” as shown here, and then choose “Settings”. On a computer,
you could just head over to facebook.com/settings to access the same.

3. Next, scroll down to the “Your Facebook Information” section and choose “Access Your Information”.
You can find these options in facebook.com/settings if you’re on a Mac or PC.
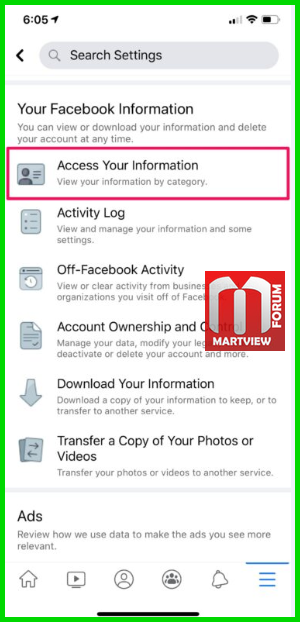
4. Now, tap on the “download your information” hyperlink as shown in the screenshot below.

5. You’ll be taken to the “Request Copy” menu. Here, you can deselect everything except “Photos and Videos”.

6. In the same menu, scroll all the way to the bottom and tap on “Create File”.
You’ll have the option to select your Media Quality here.

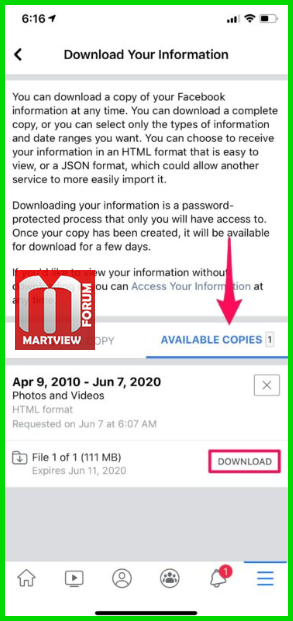
7. Once you click “Create File”, you will be redirected to the “Available Copies” section as shown below.
It’ll take a minute or two for Facebook to ready your downloadable file. Once it’s ready for download,
you’ll also get a Facebook notification. Simply tap on “Download”.
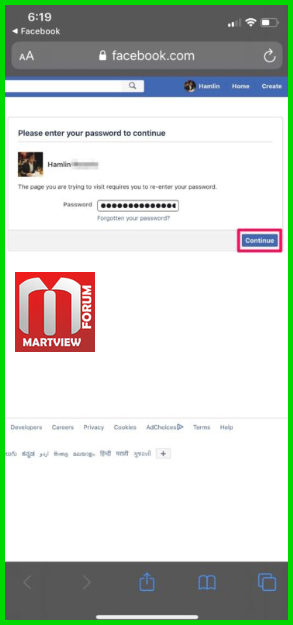
8. This will open Facebook in your Safari browser and you’ll be asked to enter your account password
for confirmation. Tap on continue when you’re done. You’ll now be prompted by Safari to download the file.
That’s it. You can now use the Safari download manager to view the progress of the download.
How to Save Photos Individually from Facebook
If you’re not interested in downloading all the photos you’ve shared on the platform, you can still save the
few photos you really need. To do this, find and open the photo you want to save and follow the steps below.
1. Tap on the “triple-dot” icon at the top-right corner of your screen.

2. Now, just choose “Save Photo” to download the image to your photo library.

There you go. Now you know how to download photos individually too.
Last edited by a moderator:
